My hobby desk
For some time now, I've needed a bit of space for my messing around with various hobbies. I like to do lots of different things including (but not limited to) soldering, 3D printing, painting, model and prop making and lock picking. Pretty varied, although, there is overlap. Mostly, they all require space.
So, obivously, I started off by working out how long I wanted the desk to be. A measuring tape came in handy here. I did buy a laser to help, but that's a different story.
Once I had work out the space that the desk was going to take up, the next questions were a) I had were how high did the desk have to be? b) Do I want it to move up and down? and c) What do I want to do about storage, and where is that storage located?
My answers were:
a) High enough to get my secret labs batman chair under without damage
b) Moving is going to do a few things : Waste space and increase cost. From my point of view, these were a definate no. If I want to stand, I actually can, as the desk is high enough to still be useful, even if not sitting down.
c) I wanted more storage in the room I was going to place the desk in. Even more, I wanted the tools that I'd be using for my hobbies nearby, so I'd actually do them. Lower barrier to playtime = more playtime.
After watching a bit of Geek Gaming Scenics on Youtube, I came across this gem:
While not exactly what I wanted, it was very close. I set out to Ikea and purchase some callax units. Not the 2 2x2 units that Luke had purchased, but a 2x2, a 1x2 and a 1x4.
One side of the desk is purely the 2x2 unit as puchased and assembled. After assembly of all the units, I set about joining the 1x2 and 1x4 units together. This gave me the stability of 2 boxs on the floor, but an addition 2 boxes for stroage of my stuff.
Once complete and I was happy with how the units were fixed, I popped over to Wickes. There they had a lovely kitchen top at just the right length for around 70 pounds. Once I was happy with the fit of the table top, I then secured that in place as well. By the way, Wickes is one of the places I got that parts for attaching all the bits of the desk together.

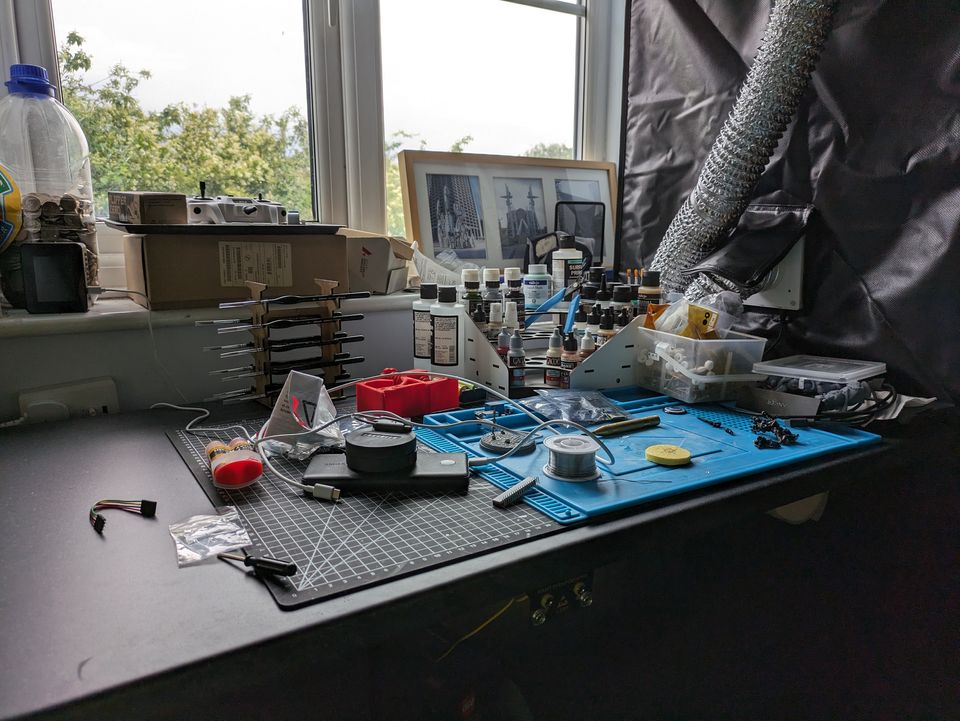
Once attached, I had a nice desktop, ready to populate with my main hobby stuff... Well, after I added some lights. In this case, I added a strip of LEDs across the back. They are plugged in to one of the 2 four ways I attached to the wall. This is configured to talk to Home assistant. If I ever make videos at home, this will come in handy.
The last minor additions are more quality of life improvements really. The white thing poking out from under the desk is a roll of kitchen roll, and it's secure in place in case I split resin or paint.
There is a cable tidy under the desk as well to keep things, well, tidy. Lastly, at the front of the desk, I have an earthing point for soldering. I've actually owned the earthing point for years, and now I have finally found a use for it.
Completing the desk is the large cutting mat. This is a general hobby usage mat. I have my resin 3D printer and my wash and cure stations permenantly setup on this desk now, and still have space to do things.
The Resin printer is inside the enclosure witht he vent, and yes that does work and goes out the window when I am printing.